An Expert’s Guide To Leaky Faucet Repair
A dripping faucet might appear insignificant at first, but over time it can waste a surprising amount of water and drive up your utility costs. A dripping faucet can waste up to 3,000 gallons of water annually, which adds up quickly. For homeowners, understanding how to repair a leaky faucet can prevent further damage to the plumbing system.
We’ll take you through common causes of faucet leaks, the tools you’ll need, and step-by-step instructions on how to fix your faucet. If you’re dealing with a single-lever faucet, compression faucet, or cartridge faucet, this guide has you covered.
Common Causes of Faucet Leaks
Various issues can contribute to a faucet drip, and understanding the problem helps determine the right approach to fix it. Here are some of the most common causes of faucet leaks:
- Worn-Out Washers or Seals
One of the most common reasons for a leaky faucet is a worn-out washer or seal. These small rubber parts are designed to create a watertight seal when you turn the faucet off. Over time, they can deteriorate due to constant friction, causing water to leak from the faucet handle or spout.
- Corroded Valve Seat
The valve seat connects the faucet’s cartridge or compression valve to the faucet body. Over time, it can become corroded, especially in areas with hard water. A corroded valve seat can cause leaks around the spout, even when the faucet is turned off.
- Loose or Faulty Parts
Sometimes, the problem isn’t a worn-out seal or washer, but a loose or damaged internal part. If internal parts like the stem or cartridge aren’t secured tightly, they can cause water to leak from the faucet. In some cases, faulty parts need to be replaced entirely to fix the issue.
- High Water Pressure
If your home has high water pressure, it can strain the faucet components, causing leaks. High pressure puts additional stress on seals, washers, and other parts, leading to faster wear and tear. Checking the water pressure in your home can help prevent leaks from occurring due to this factor.
The Tools You’ll Need
Having the right tools will make the process smoother and ensure a more effective repair. Here’s a list of tools you’ll need for most leaky faucet repairs:
- Adjustable Wrench: To loosen and tighten nuts and bolts.
- Screwdriver: Depending on your faucet type, you’ll need either a flathead or Phillips screwdriver.
- Plumber’s Tape: Also called Teflon tape, this helps seal pipe threads and prevent leaks.
- Replacement Parts: Having spare washers, O-rings, and cartridges will help you quickly fix the issue.
- Pliers: Used for gripping and loosening difficult-to-remove parts.
Having these tools ready will help you avoid interruptions and make the repair process as efficient as possible.
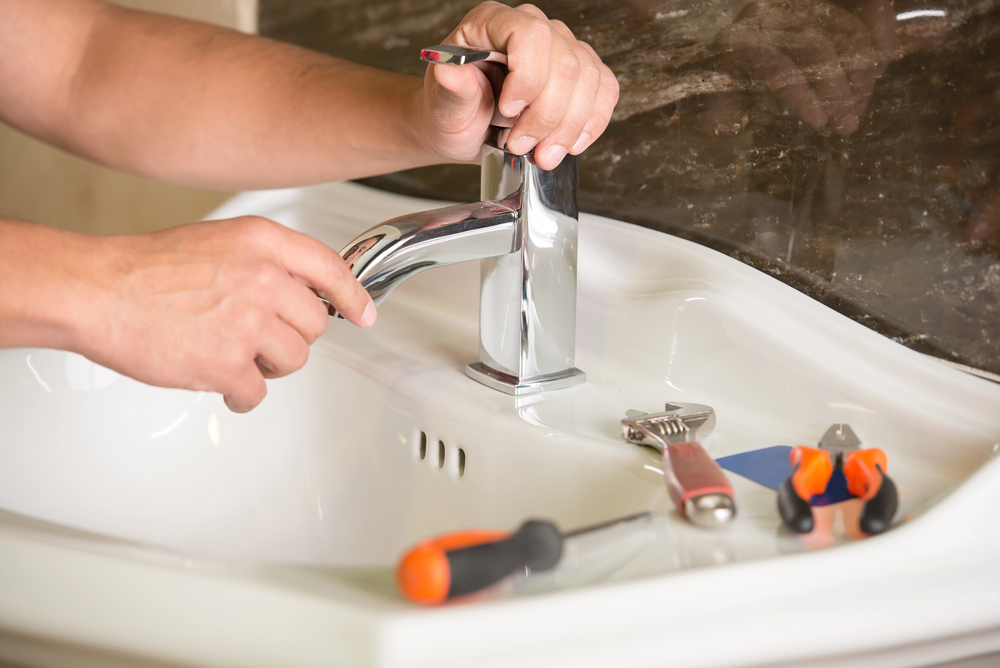
How to Fix a Leaky Faucet: A Simple Repair Guide
If you’ve gathered the right tools and have a basic understanding of what causes faucet leaks, you’re ready to begin the repair process. While specific steps may differ depending on the faucet style, the overall approach is often similar.
Step 1: Cut Off the Water Flow
Begin by halting the water supply to the fixture to prevent unwanted drips or mess. Locate the valves beneath the sink and rotate them to the right until they are fully closed. Then, open the faucet to let any residual water drain out of the plumbing system.
Step 2: Take the Faucet Apart
Next, begin dismantling the faucet. The procedure will vary depending on the design; some may require a screwdriver to remove a handle, while others might need a wrench to loosen key fittings. As you remove the components, lay them out in the order you removed them to simplify reassembly.
In the case of a compression faucet, you’ll likely need to unscrew and lift off a decorative cap and handle. For cartridge-style models, removing a securing clip or nut is usually necessary before you can reach the internal components.
Step 3: Examine Internal Components and Replace If Needed
With the faucet opened up, check all the internal parts (especially rubber gaskets, O-rings, and the cartridge) for signs of aging, breakage, or mineral buildup. If anything looks worn or degraded, replace it with a matching part.
If you notice corrosion or damage on the valve seat, a replacement might be required. A specialized tool, such as a valve seat wrench, can help remove and install this piece.
Step 4: Put Everything Back Together
Once the faulty components have been swapped out, carefully rebuild the faucet by following the same sequence in reverse. Be sure that each part is fitted securely, but don’t overtighten, as that could crack delicate pieces.
Step 5: Restore the Water and Test the Repair
Finally, reopen the shutoff valves by turning them left to restore water flow. Switch on the faucet and observe whether the leak has stopped. If you still notice dripping, go back and check the installation to make sure everything is seated properly and that the correct parts were replaced.
When to Call a Professional Plumber
Some plumbing problems may be more complicated and require professional attention. If the faucet continues to leak despite replacing washers, seals, or cartridges, there might be an underlying issue with the water pressure or the faucet’s internal components.
Additionally, if you find signs of corrosion or extensive damage to the faucet’s valve seat or other parts, it might be more cost-effective to replace the entire faucet rather than trying to repair it. A residential plumber can assess the situation and recommend the best course of action.
How to Prevent Future Leaks
Once you’ve repaired your leaky faucet, it’s a good idea to take steps to prevent future leaks from occurring. Here are a few preventative measures you can take:
- Replace Parts Regularly: Over time, parts like washers and O-rings wear out. Replacing these parts during routine maintenance can extend the life of your faucet.
- Check Water Pressure: If high water pressure is causing leaks, consider installing a pressure-reducing valve to protect your plumbing system.
- Clean Your Faucet: Regularly clean your faucet to remove mineral buildup and prevent corrosion. Use a vinegar solution to remove scale deposits from hard water.
Taking these simple steps can keep your faucet functioning properly and reduce the chances of leaks in the future.
Aero Energy: Get Expert Toilet and Faucet Repair Services in Pennsylvania
Leaky faucets are a pesky problem that many homeowners face, often leading to wasted water and higher utility bills. If the drip continues or you’re unsure how to fix it, reaching out to a professional plumber can save you time, frustration, and potential damage.
Regular maintenance keeps your faucet in top shape and prevents future leaks, helping you conserve water and reduce costs over time. Taking action now can protect your home (and your wallet) from unnecessary expenses down the road.
At Aero Energy, we specialize in toilet and faucet repair and installation for homes across Pennsylvania, including Adams, York, and Cumberland Counties. Our skilled plumbers are dedicated to delivering top-notch service, quickly addressing leaks, clogs, or any other plumbing issues to avoid damage to your home. With over 90 years of experience, we pride ourselves on providing honest, transparent pricing, ensuring you get exactly what we quote.
For fast, reliable plumbing services, call 717-624-4311 today. Let Aero Energy handle your plumbing needs, from repair to installation, so your home runs efficiently and smoothly. We’re here to help every step of the way.